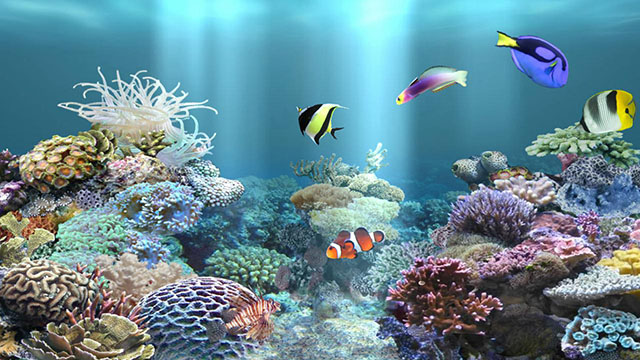
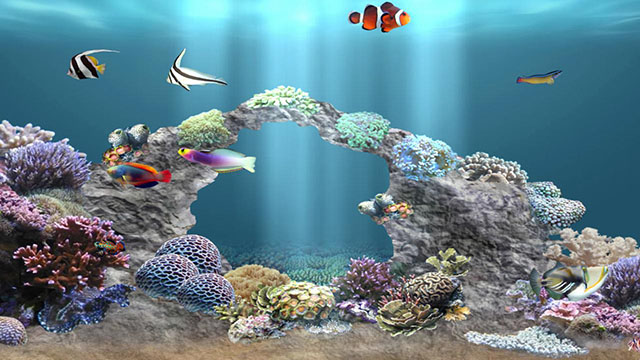
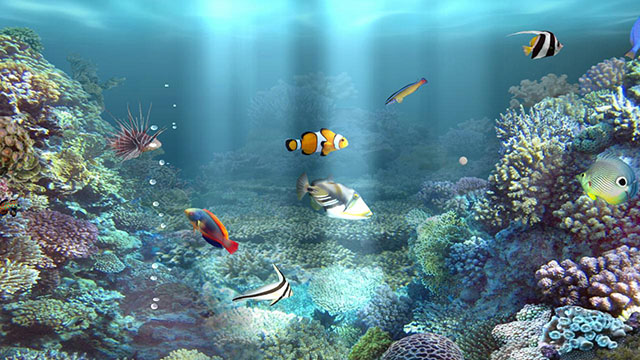
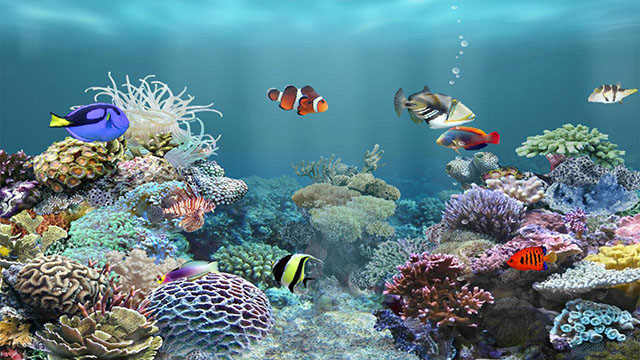
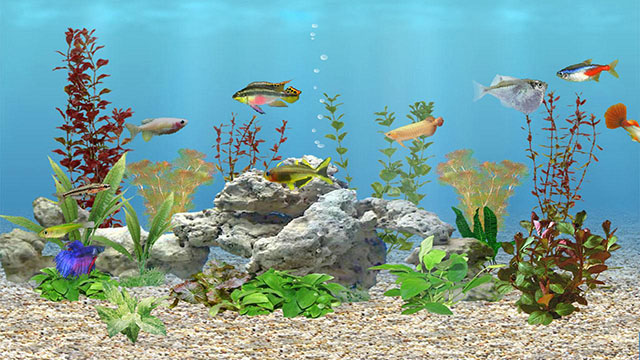
Turn your TV into a marine aquarium.
Select 20 fish from 180 species to grow.
Feed them and make babies.
Current version features:
* 20 fish categories, 180 fish species
* Up to 20 fish in the tank
* Able to feed fish and fish grows
* Matured fish may have babies
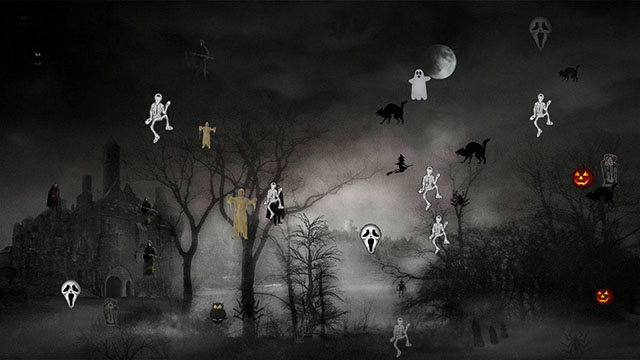
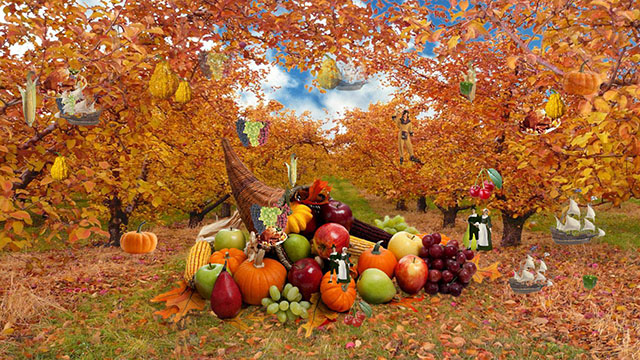
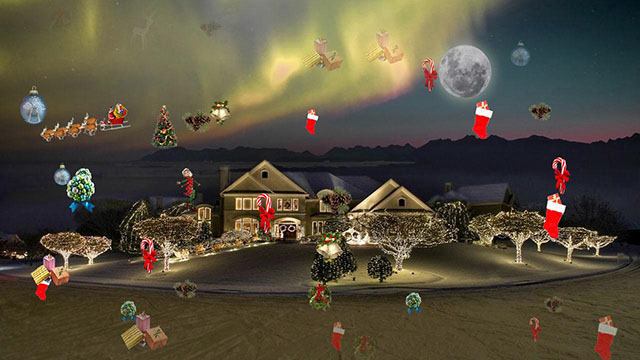
* Background change
* Many options available, such as fish speed, growth speed, light animation, etc.
How to operate:
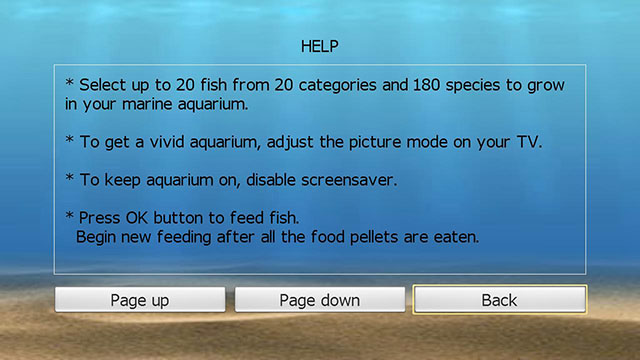
* To get a vivid aquarium, adjust the picture mode on your TV.
* To keep aquarium on, disable screensaver.
* To feed fish, press OK button for Roku, SELECT button for FireTV.
Begin a new feeding after all the food pellets are eaten.
* To launch main menu, press * button for Roku, MENU button for FireTV.
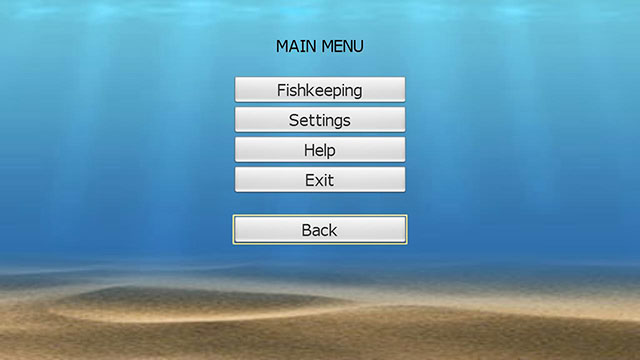
Help:
Settings:
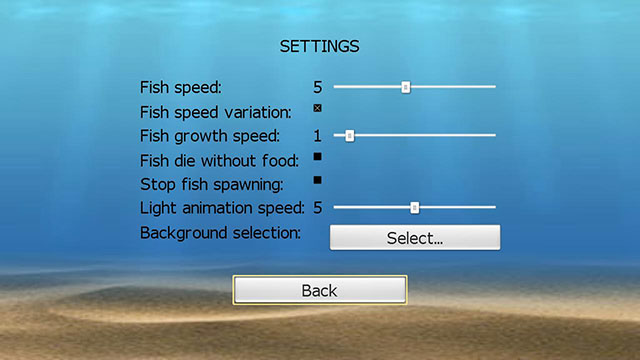
Set Fish growth speed to 0 to disable fish growth.
Set Light animation speed to 0 to remove light animation.
Background selection:
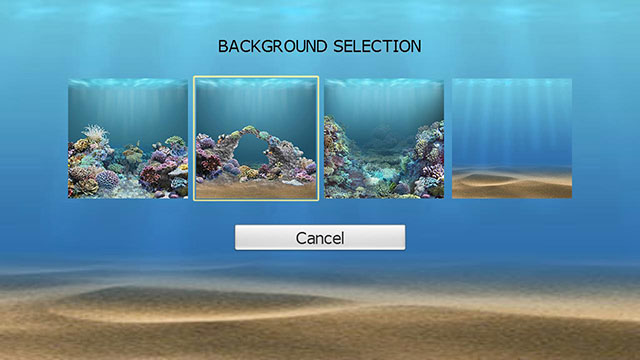
Move the focus to the favorite background then press OK button to select.
Fishkeeping:
There could be up to 20 fish in the tank.

Each fish could be removed or changed to other species.
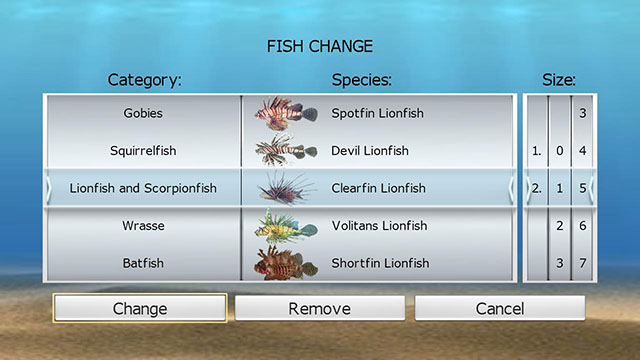
To change a fish, first select fish category, the species will be automatically changed to that category. Select a species within that category, then select fish size (1.0 ~ 2.99), press Change button to change the fish.
Press the Remove button directly to remove the fish from the tank.
When Up/Down buttons are used for value selection(such as fish category, fish species, fish size), use Left/Right buttons to move focus.
To have baby fish:
1) Wait until mother fish reach 4.0 in size.
2) Feed within a day.
3) Whenever aquarium is launched, there is 1/5 chance for a mother fish to have a baby.
4) A baby fish will stay with mother fish for 7 days.
Afterwards, the baby fish will be an individual fish when there are less than 20 fish in the tank,
otherwise the baby fish will be gone.
Tips:
1) You need to feed your fish daily.
During a day, one food pellet is enough for a fish. Fish would try to get extra food only after all fish in the tank have been fed.
2) It takes about 300 days for a baby fish (size 1.0) to be mature.
You could set “Fish growth speed” to 10 to shorten it to 30 days.
3) You could set “Fish growth speed” to 0 to disable fish growth.
4) If the “Fish die without food” option is checked under “Settings”, fish would die after 4 days without any food. But you could uncheck it to bring the fish back, then feed them.


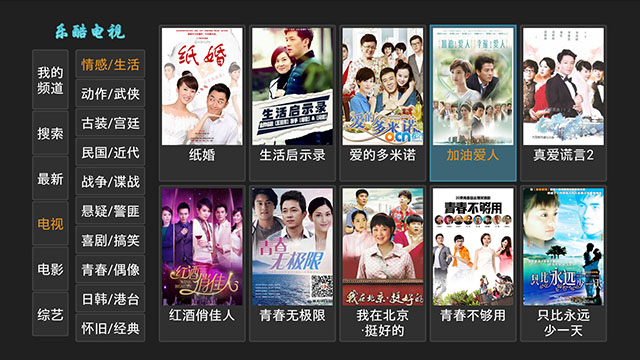 电影节目浏览:
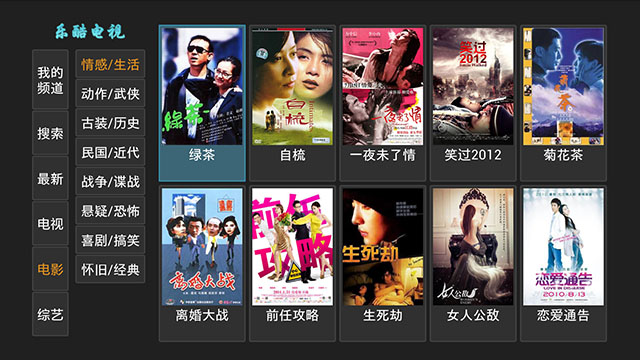 新闻节目浏览:
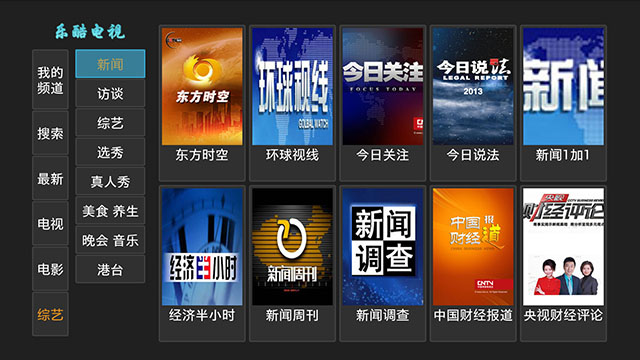 综艺节目浏览:
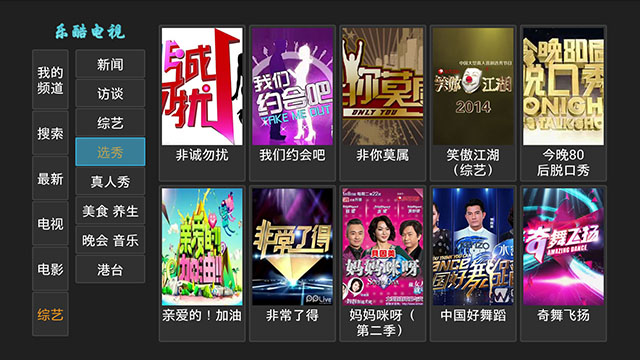 剧集选择:
剧集选择: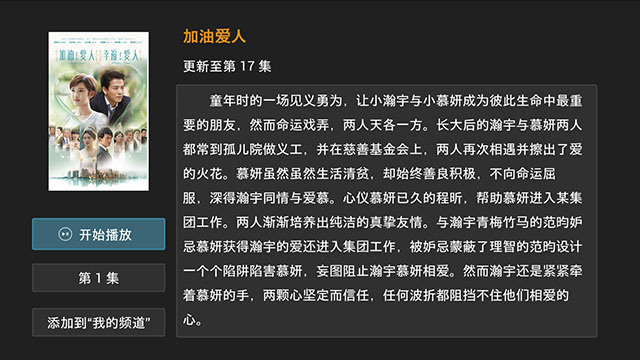 播放:
播放: