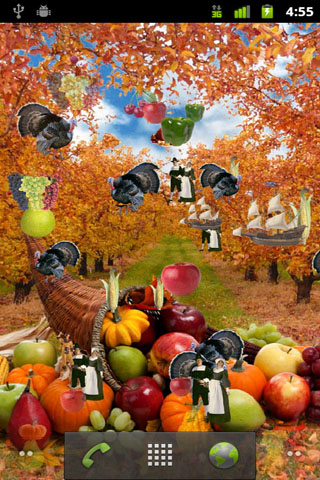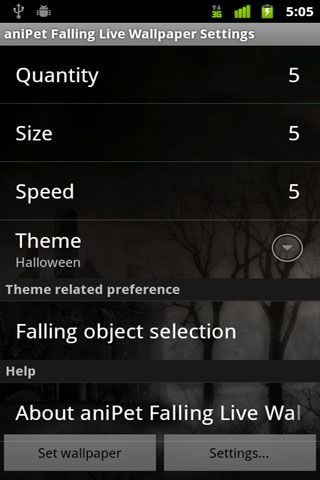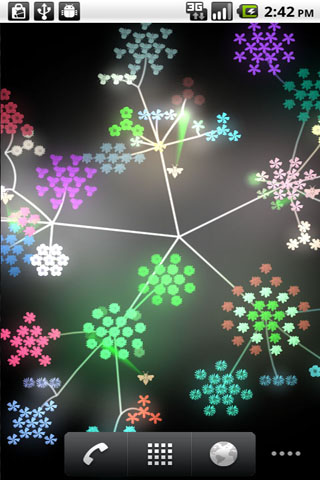
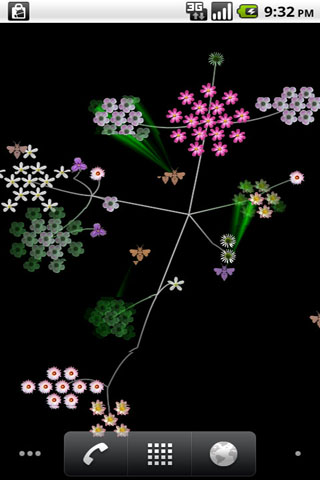
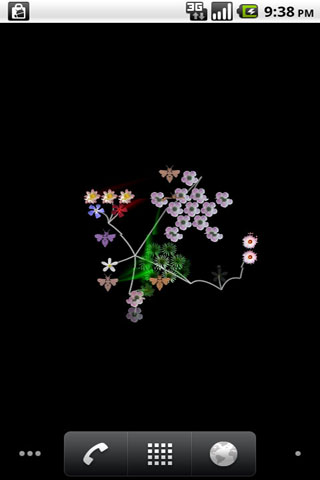
aniPet Falling is the 7th live wallpaper of aniPet series, it simulates virtual flower blooming and pollination. You could control the animation speed, flower amount, bee number, background color, etc.
How to set aniPet Bloom Live Wallpaper:
To set aniPet Falling as your live wallpaper, take the following steps:
1) Long press in an empty area of your Home screen, the “Add to Home screen” dialog will pops up, select “Wallpapers”. Or you could press the MENU button, then select “Wallpaper” from the option menu.
2) From the “Select wallpaper from” dialog, select “Live wallpapers”.
3) Select the “aniPet Bloom” from the live wallpaper list.
4) Within the “aniPet Bloom” preview screen
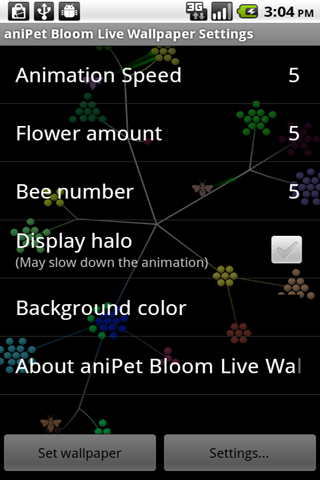
a) press “Settings” button to go to Preference Setting dialog.
You could control the animation speed, flower amount, bee number, background color, etc.
Press the BACK button to return to the preview screen.
b) press the “Set wallpaper” button to set “aniPet Bloom” as your live wallpaper.
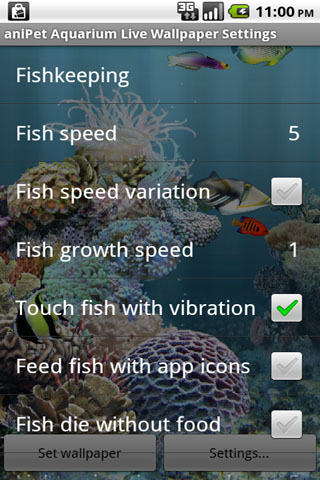
How to use aniPet Bloom Live Wallpaper
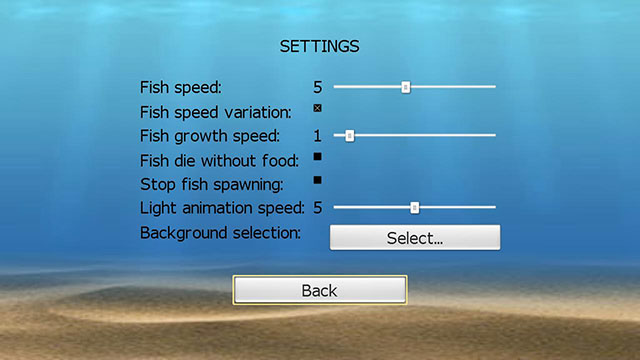
You could launch the Settings by pressing HOME/MENU/Wallpaper/Live Wallpaper/aniPet Bloom/Settings.
Within the Settings page, you could
* Change the animation speed (1 – 10, default 5).
* Change flower amount (1 – 10, default 5).
* Toggle the display of original or random color for flowers.
* Change bee number (1- 10, default 5).
* Display or hide halo.
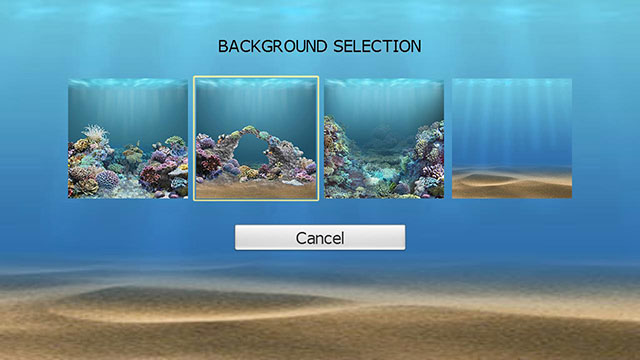
* Change the background color (default black).
Display halo may slow down the animation if your phone is not that powerful. If you find the animation is slow, please uncheck the “Display halo” option.


 电影节目浏览:
 新闻节目浏览:
 综艺节目浏览:
 剧集选择:
剧集选择: 播放:
播放: